
In this post, we will learn how to create Python virtual environment in VScode with an example. But before we jump into it let’s first understand what is virtual environment & why we create virtual environments.
What is Virtual Environment?
A virtual environment in Python is a self-contained directory that contains a specific Python interpreter along with its standard library and additional packages or modules.
Why We Create Virtual Environment?
When we create any project (or live project), a virtual environment helps us to put all the dependencies in one place so that we will avoid conflicts from our global Python environment or other projects.
It encapsulates all the dependencies of the projects within the virtual environment, providing a clean and isolated space for the project’s requirements.
Create Python Virtual Environment in VScode
To create a Python virtual environment in Vscode follow this steps:
Step:1→ First Create your folder ( or project folder) and open it in VScode. Here in our case folder name is ‘Project A’
Step:2→ Open the Vscode terminal and write the below command to create a Python virtual environment.
python -m venv nameNOTE: Here name refers to your virtual environment name (you can give any name to your virtual environment).
This Command creates one folder (or directory) that contains the Python interpreter along with its standard library and additional packages or modules.

Step:3→ To activate your virtual environment write the below command based on your system.
Windows:
my_venv/scripts/activateNOTE: Here my_venv is a name of your virtual environment.
macOS and Linux:
source my_venv/bin/activate

Now that our virtual environment is activated, you can install any Python package or library inside it. For this demo, we will install two external Python libraries: NumPy and Pandas.
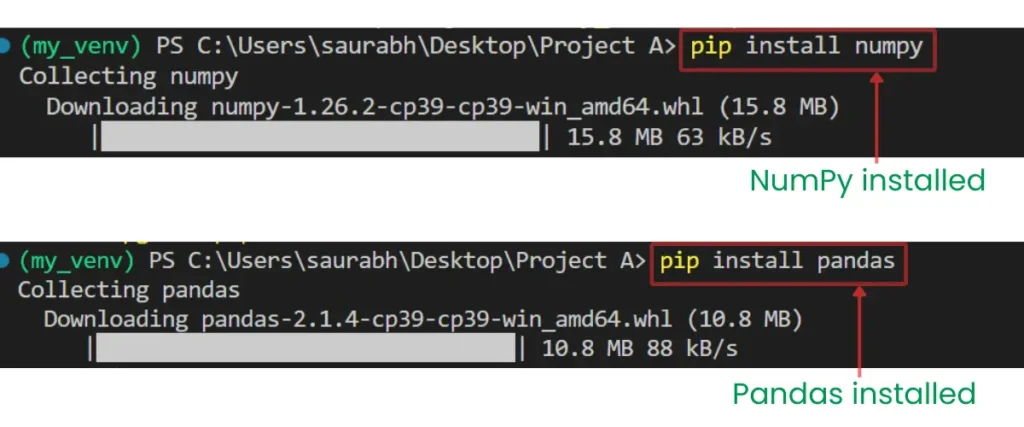
Pandas and NumPy are installed within your virtual environment and are not accessible outside of your project folder.
If you want to view all the dependencies of your project folder, you can use the following commands:
pip listOutput:

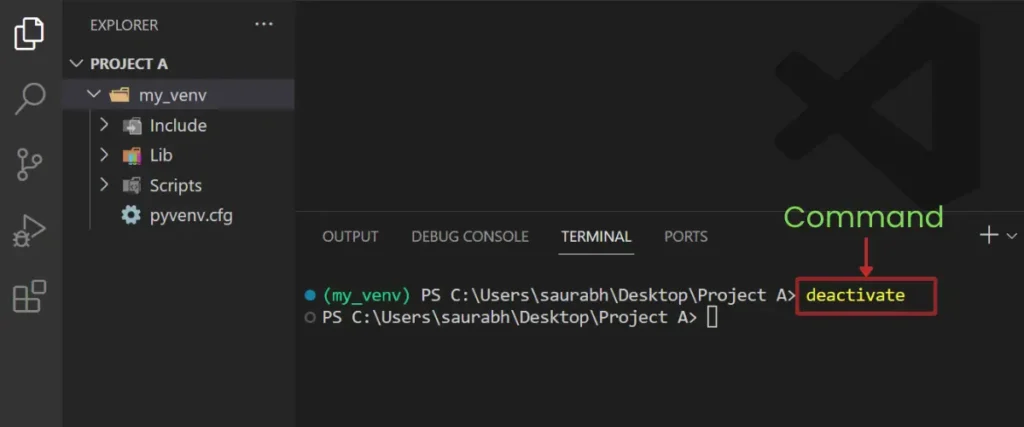
How to Deactivate Your Python Virtual Environment
To deactivate your virtual environment you can run following command:
deactivateOutput:
How to Create requirement.txt file in Python
A requirements.txt file is a text file that includes the names of all dependencies and their corresponding versions for a Python project.
This file is particularly useful when sharing or handing over a project, as it allows others to easily replicate the project’s environment with the exact versions of each dependency.
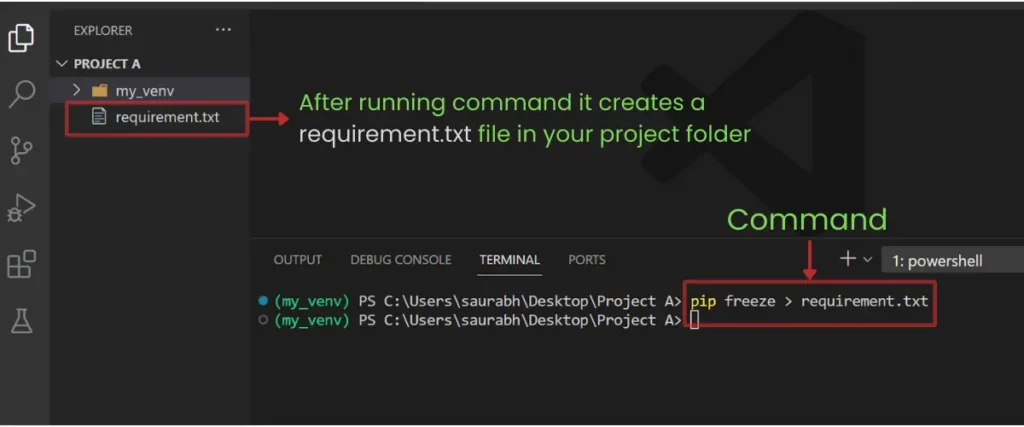
To create requirement.txt file run following command in your Vscode terminal:
pip freeze > requirement.txtOutput:
NOTE: Instead of requirements.txt, you can use any name of your choice.
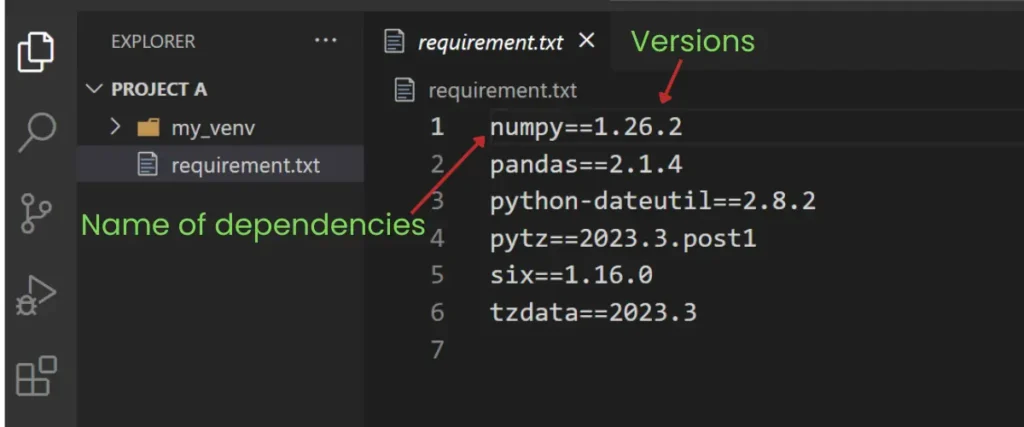
Inside the requirements.txt file, all the dependencies and their versions are listed like this:
How to Install requirements.txt in Python
To install the requirements listed in requirements.txt, simply enter the following command in your terminal.
pip install -r requirement.txtIf someone sends you their project with a requirements.txt file, you can easily download all the dependencies of the project using the command mentioned above.
In conclusion, this is all about how we can create a Python virtual environment, how to activate or deactivate it, how to create a requirement.txt file, and how to install requirements listed in requirements.txt. I hope this article has helped you learn these concepts and added value to your life – Thank you for reading.


